Create a Chat App
Chat Apps are standalone, AI-powered applications hosted at your own URL. They connect to your pipelines and models, support authentication and analytics, and include a full admin panel for customization and monitoring.
Use Chat Apps to build internal assistants, customer support tools, or research helpers—anywhere you need a secure, full-featured conversational interface.
Prerequisites
Before creating a Chat App, ensure you have:
- An active Vectorize account with a paid plan (Starter or higher)
- At least one pipeline created with indexed documents
What You'll Build
By the end of this guide, you'll have:
- A hosted AI chat application with its own URL
- A model-connected assistant powered by your pipeline
- User authentication and management
- Multi-model support (switch between AI providers and models)
- Access to the Admin Panel for full control
1. Create a New Agent
Step 1: Navigate to Agents
From the Vectorize platform, click Agents in the left sidebar.
Step 2: Click "New Agent"
Use the button in the top-right corner.
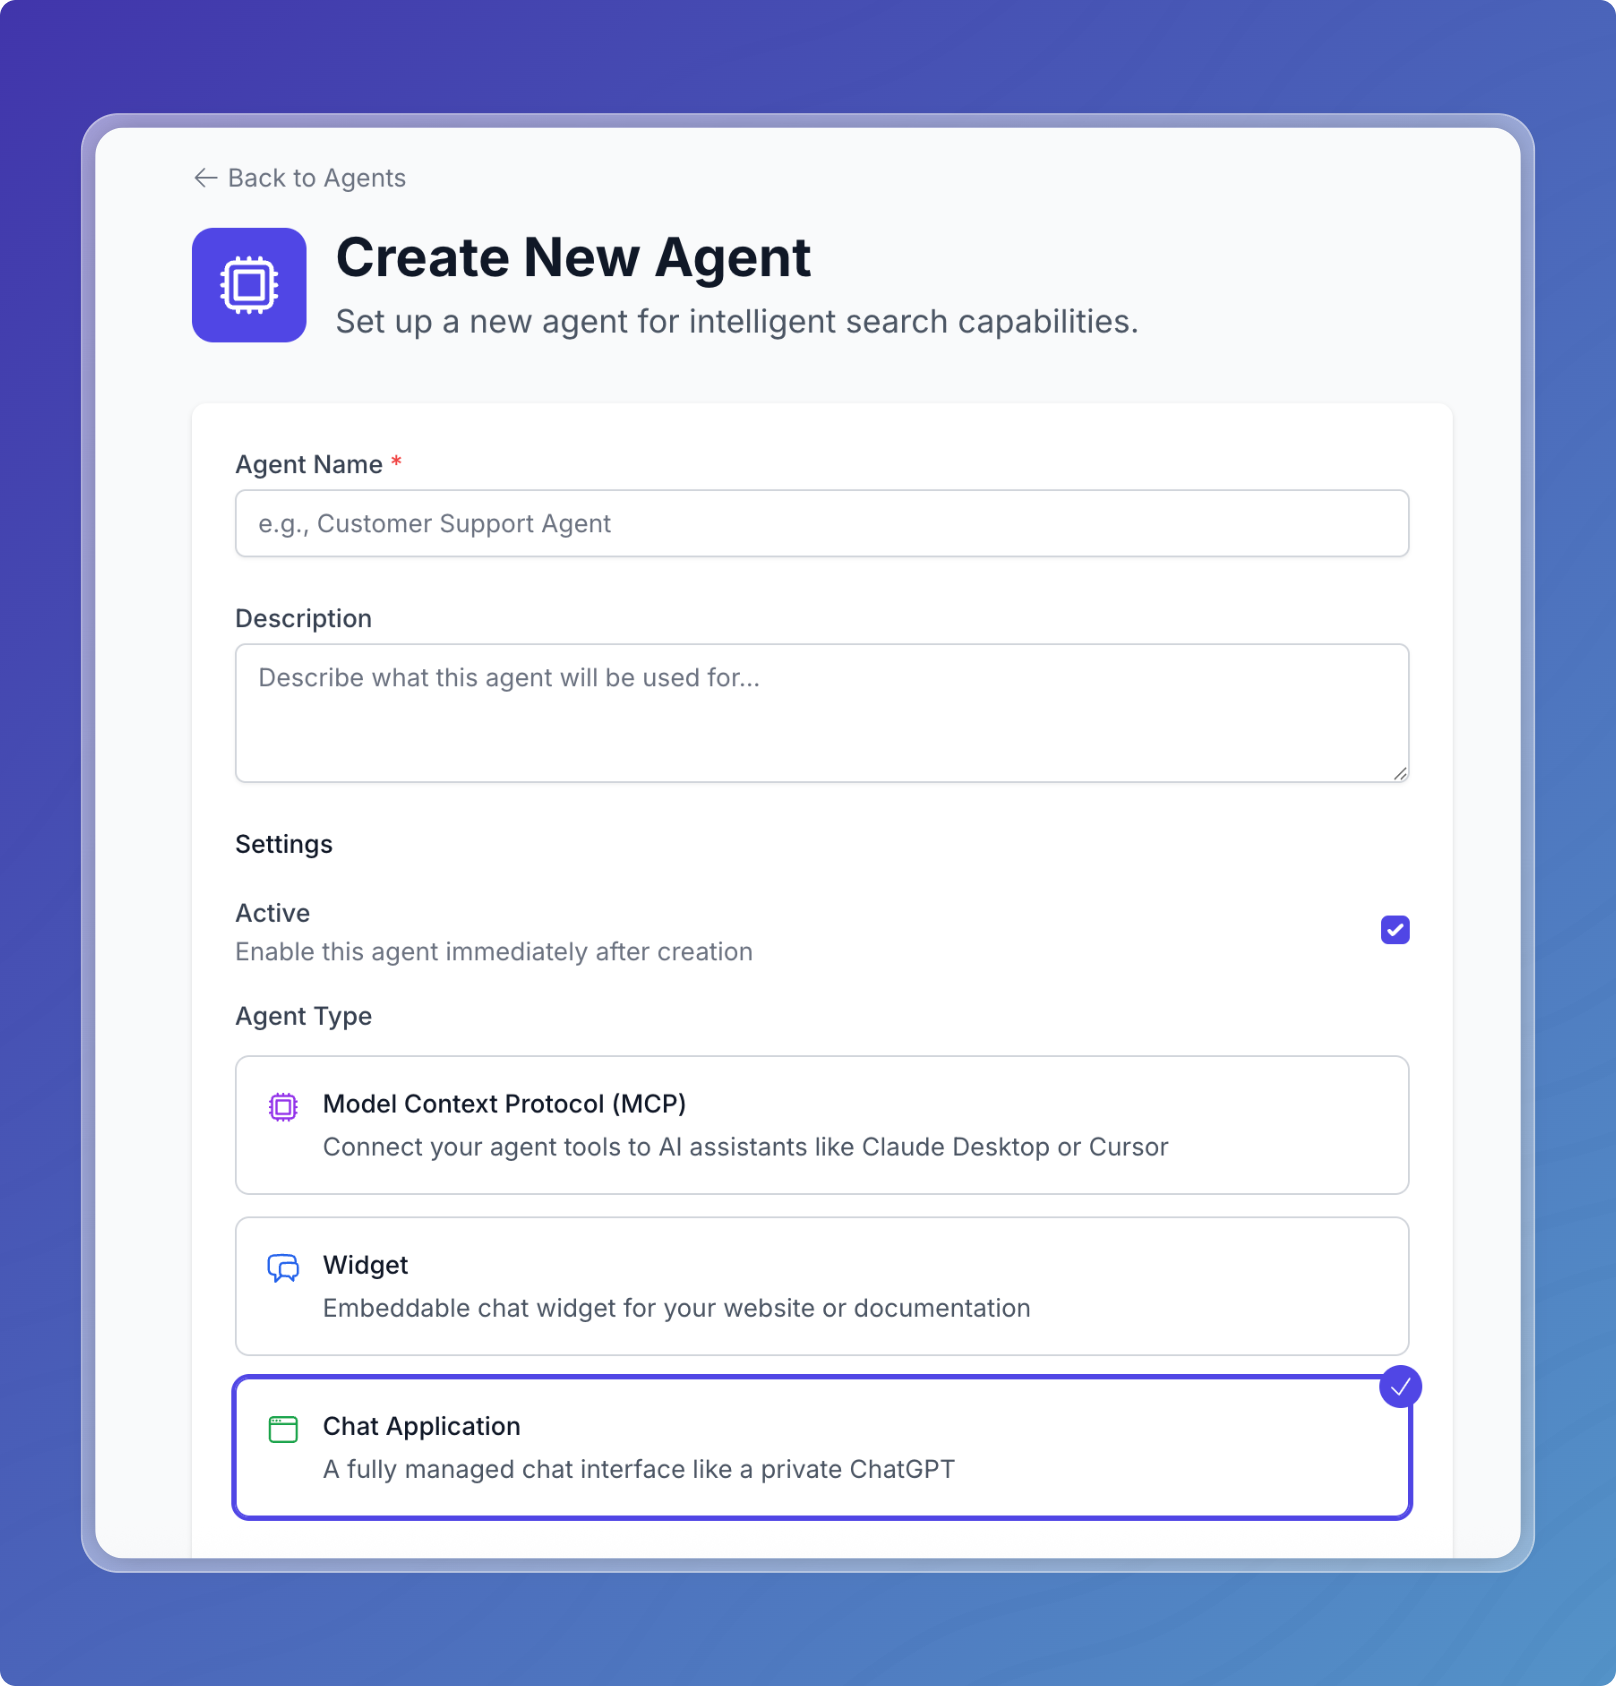
2. Configure Your Chat App
Agent Name
Enter a name (3–50 characters). This will appear in the header of your Chat App.
Description (Optional)
Add a short internal description to help teammates understand the agent’s purpose.
Application Type
Select Chat Application.
Active Status
Toggle whether to activate the agent immediately. You can enable or disable it later at any time.
3. Connect AI Models
Chat Apps support multiple models, including both built-in and external providers.
Model Types
- Built-in Models: No API key required
- Connected Platforms: Use OpenAI, Anthropic, and Groq
Enable Models
- Expand each platform to view available models.
- Select the models you want to offer.
- Enabled models appear in the model selector at runtime.
Set Default Model
- Go to the Model Order section.
- Drag to reorder models.
- The first model becomes the default for new sessions.
Users can switch models mid-conversation if multiple are enabled.
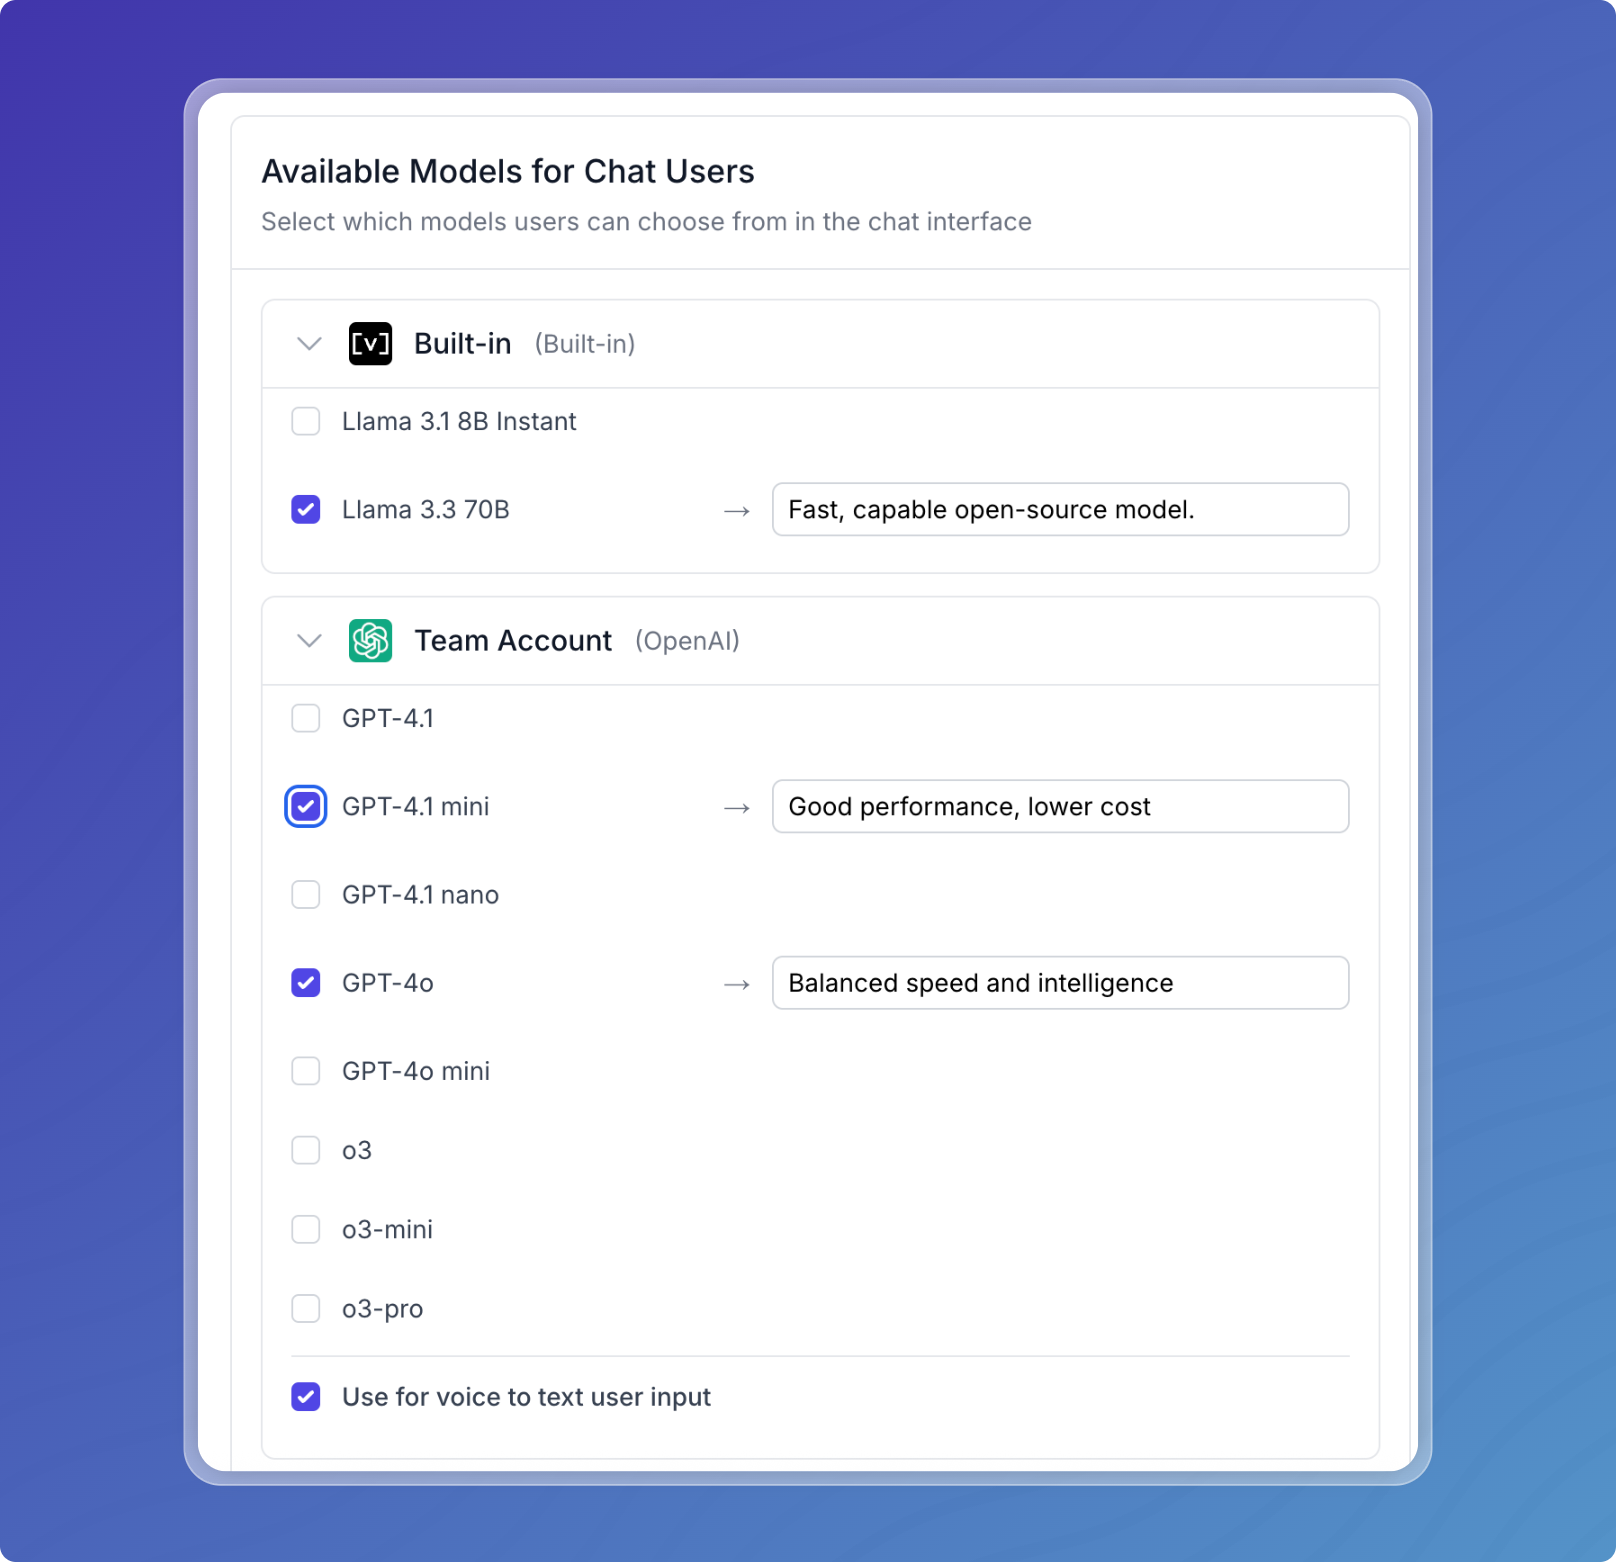
Optional: Voice Input
Some AI platforms support voice input. To enable:
- Check the "Use for voice to text user input" box next to the platform
- A microphone icon will appear in the chat interface
4. Configure the System Prompt
The system prompt sets your assistant’s behavior and tone.
Tips for Effective Prompts
- Define the assistant’s role and boundaries
- Specify when to escalate or defer
- Keep tone consistent with your use case
Example: Internal Knowledge Base
You are an internal assistant helping employees find information.
Use the connected knowledge base to answer questions about company policies, procedures, and documentation. Be professional but conversational.
If information isn't available, suggest contacting the relevant department.
Model Parameters
-
Temperature (0–2):
- 0.0–0.3: Focused and deterministic
- 0.4–0.7: Balanced (recommended)
- 0.8–2.0: More creative
-
Max Tokens:
- Default: 2048 tokens
- Maximum: 128,000 tokens (for long responses)
5. Configure Authentication
Authentication determines who can access your Chat App.
Public Access
- Best for: Public documentation, marketing, general support
- No sign-in required
- No user tracking or personalization
Secure Access (Recommended for internal use)
- Users must sign in to use the app
- Supports session tracking and permissions
- SAML/SSO support available for enterprise plans
Set Admin Credentials
These are required to access the Admin Panel:
- Username: Email or custom name
- Password: Must meet complexity requirements
- Confirm Password: To avoid typos
Tip: Store these securely—you’ll need them to access and manage the app.
6. Connect to Your Pipeline
Once the Chat App is created, connect it to tools backed by your pipeline.
Option A: Create a New Tool
- Click Create New Tool
- Configure:
- Tool name
- Description
- Pipeline to query
- Optional metadata filters
Option B: Use Existing Tools
- Click Add Existing Tool
- Select from tools already available in your workspace
Once tools are added, your Chat App is live and ready.
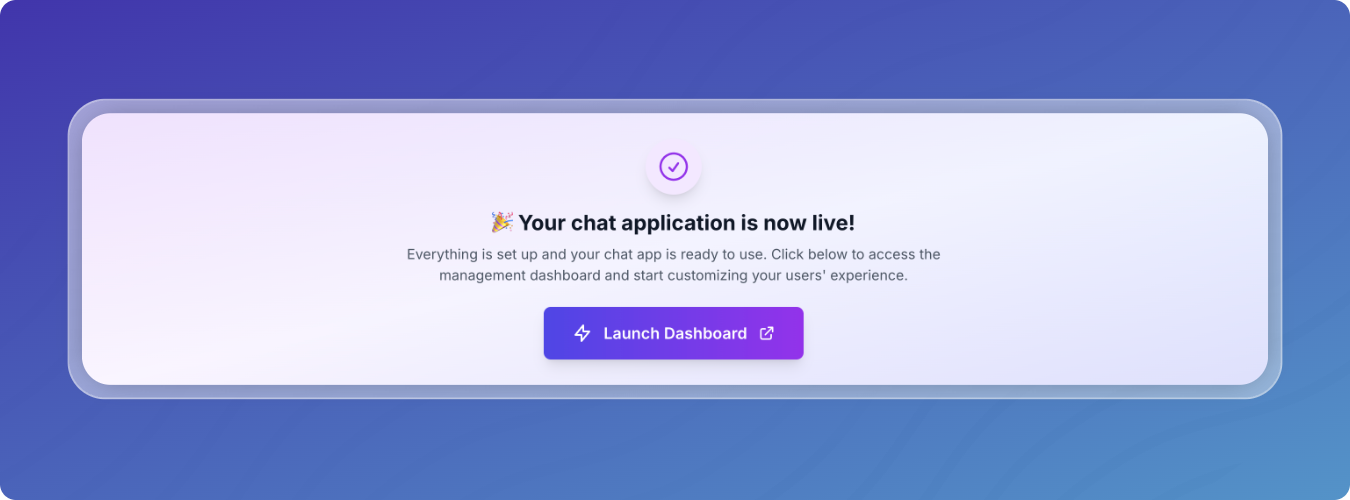
7. Launch Your Chat App
Access Your App
- From the agent page, click Launch Dashboard
- Your app opens in a new tab
- Bookmark the dedicated URL for quick access
First-Time Access
- Public apps: Load immediately
- Secure apps: Show a login screen
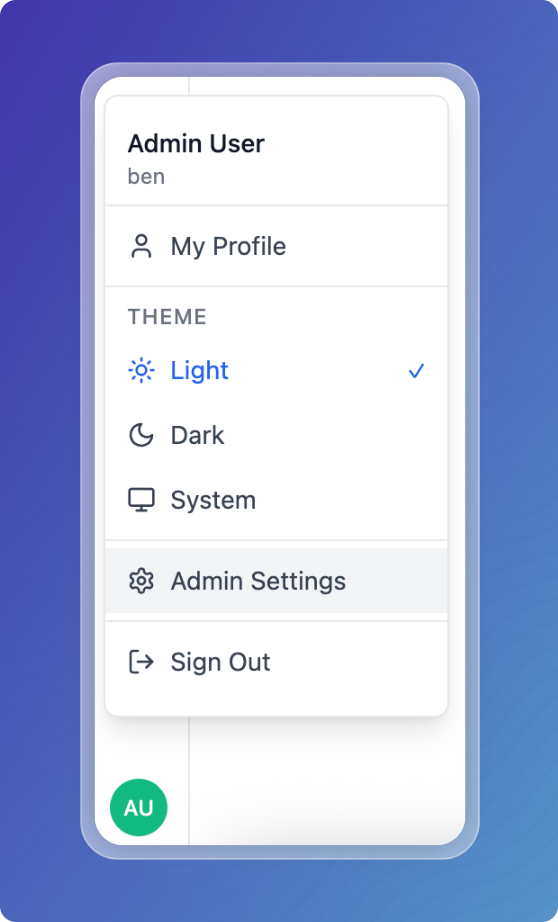
Admin features require signing in with the admin credentials you set earlier.
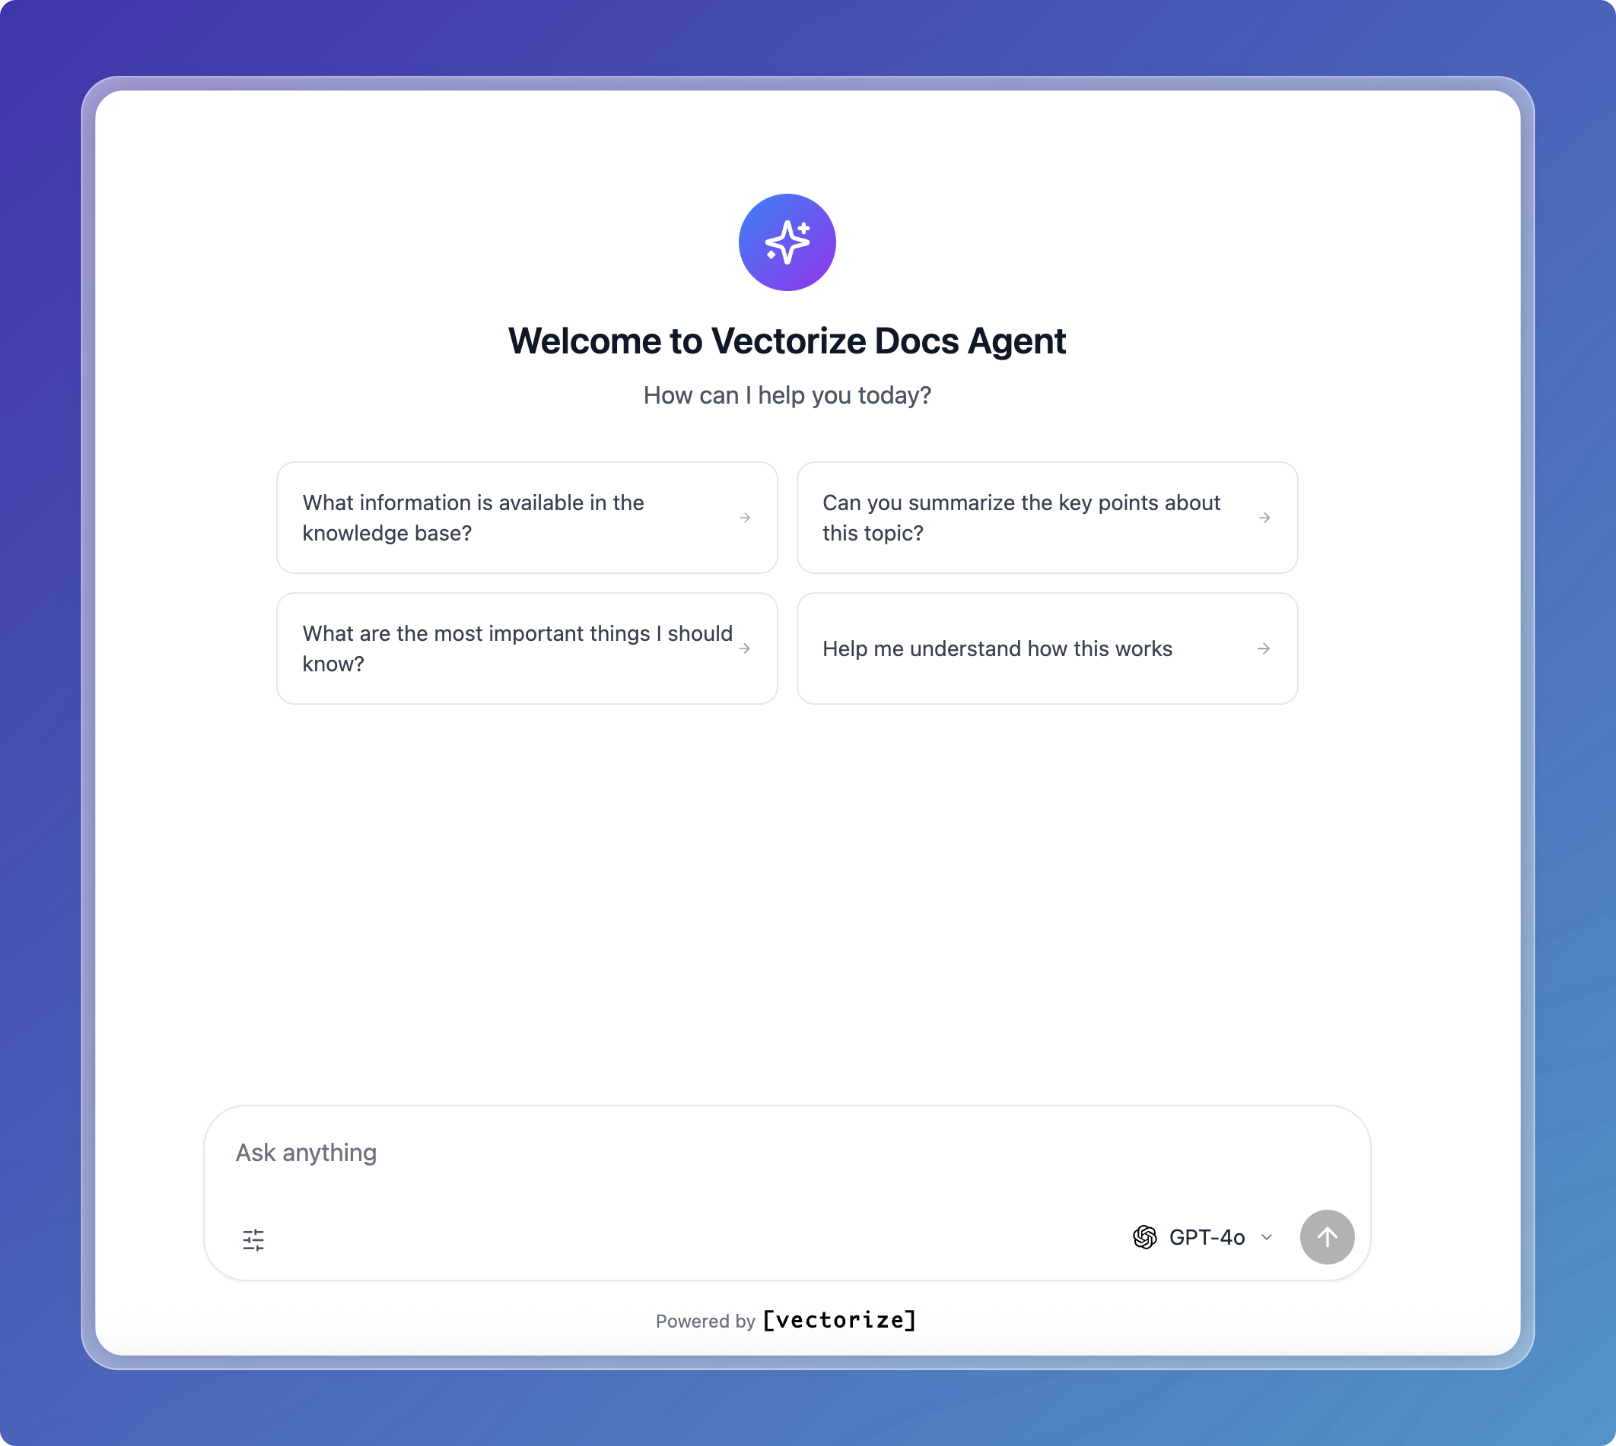
8. Explore the Interface
Built-in Features
- Model Selector: Switch models in-session
- Voice Input: Optional mic-based input
- Conversation History: Visible to users
- Source Citations: Show document references
- Feedback Buttons: Thumbs up/down on each message
- Suggested Questions: Click-to-send starters
9. Manage Your Chat App
Use the Admin Panel to configure:
- System prompt and model behavior
- Appearance and branding
- Security and authentication
- User roles and permissions
- Logs, analytics, and webhooks
10. Optional: Advanced Configuration
Custom Domain (Enterprise Only)
- Host the Chat App at your company’s domain
- SSL setup handled by Vectorize
- Contact support to enable
SSO / SAML Authentication
- Go to Security in Admin Panel
- Select SAML/SSO Integration
- Enter identity provider details
- Map user attributes
- Test and enable
Two-Factor Authentication
Enable 2FA for added security:
- Go to Security
- Turn on Two-Factor Authentication
- Choose enforcement level (all users, admins only)
Next Steps
- Admin Panel Guide - Configure and manage your Chat App
- Chat Agents Overview - Learn about all Chat Agent features
- Create a Chat Widget - Build a lightweight embedded agent