Create a Chat Widget
Chat Widgets are embeddable AI assistants that integrate directly into your website or application. They offer fast deployment, domain-level access controls, and lightweight customization for a seamless user experience.
Use Chat Widgets for documentation sites, in-app help, marketing pages, or anywhere users need instant answers from your data.
Prerequisites
Before creating a Chat Widget, ensure you have:
- An active Vectorize account with a paid plan (Starter or higher)
- At least one pipeline created with indexed documents
- A website or application where you'll embed the widget
What You'll Build
By the end of this guide, you'll have:
- An embeddable widget powered by your RAG pipeline
- Custom authentication and domain restrictions
- A configured AI model with defined behavior
- Integration code for use on your site
1. Create a New Agent
Step 1: Navigate to Agents
From the Vectorize platform, click Agents in the sidebar.
Step 2: Click “New Agent”
Use the button in the top-right corner.
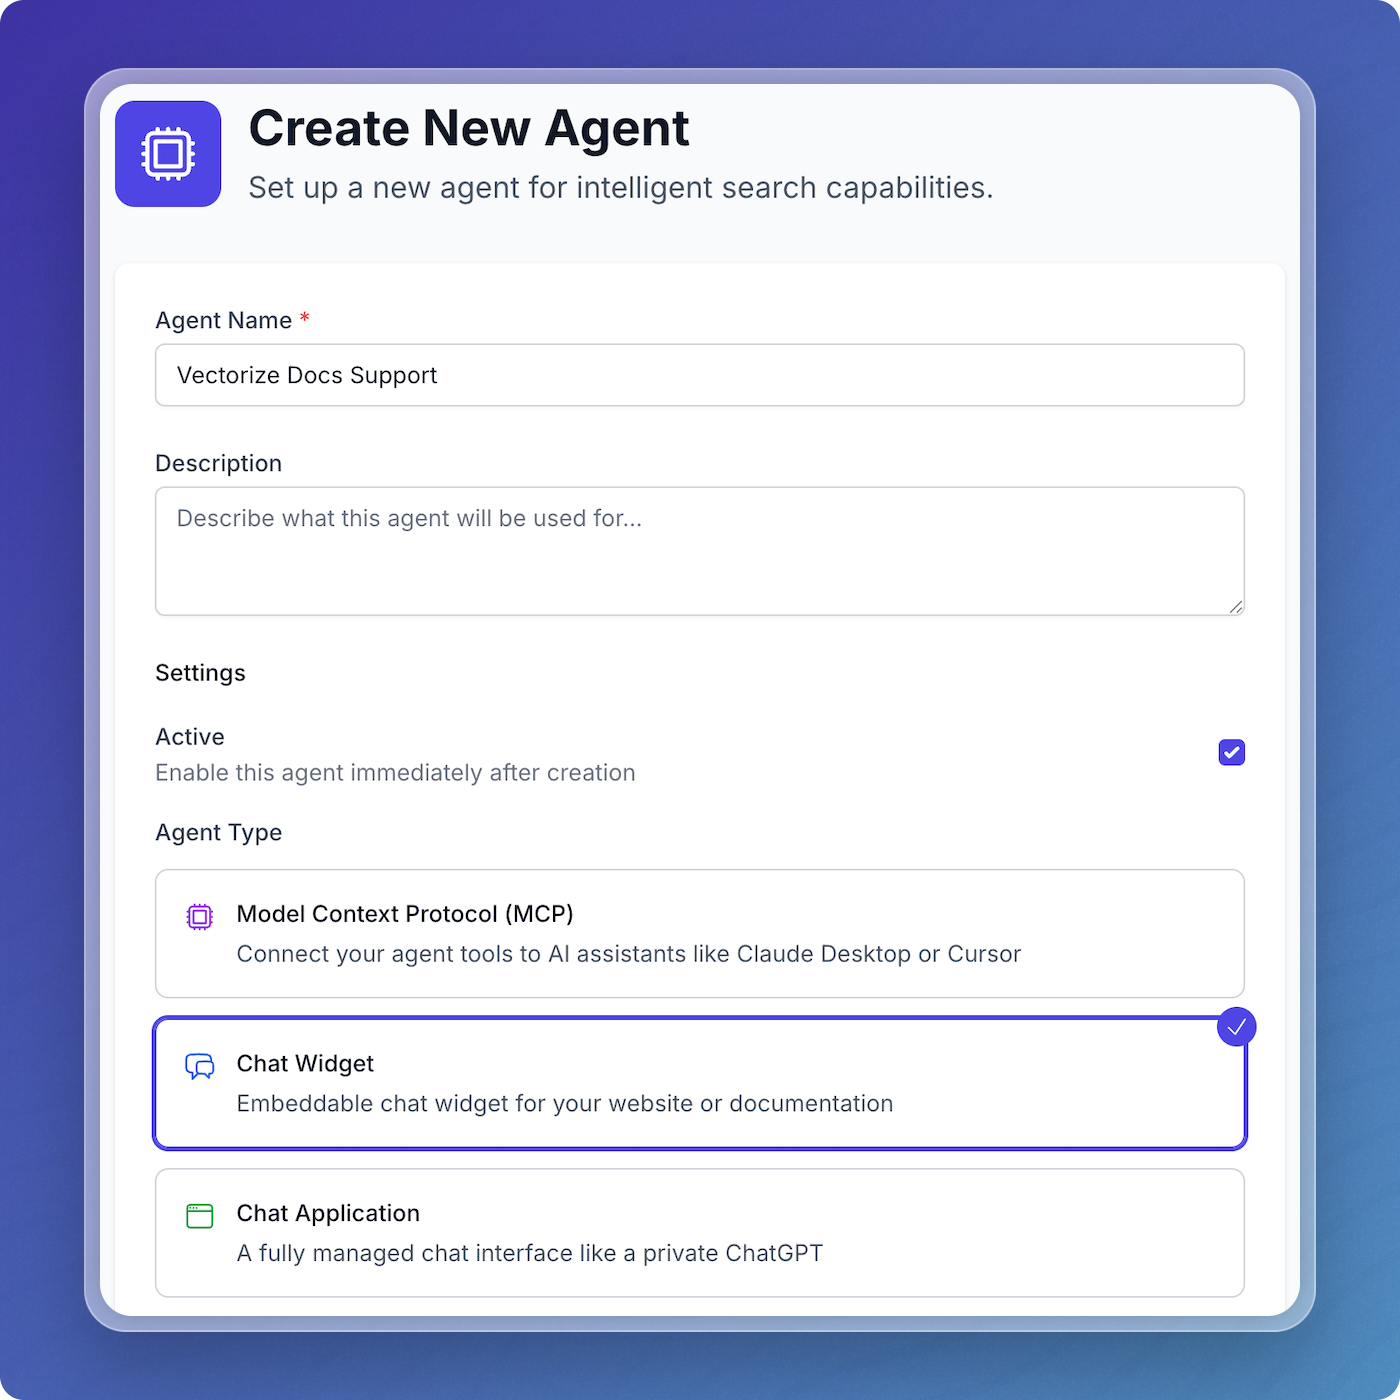
2. Configure Your Widget
Agent Name
Enter a name (3–50 characters) for internal reference.
Description (Optional)
Add a short note for your team—this is not visible to end users.
Application Type
Select Widget.
Active Status
Choose whether to activate the widget immediately. You can enable or disable it later.
3. Select a Model
Widgets use a single AI model for consistency and simplicity.
Choose a Model
- Select your platform:
- Built-in (no key required)
- Connected platforms (OpenAI, Anthropic, Groq)
- Choose a model from the list
- If needed, click Add LLM Provider to add new integrations
The selected model will be used for all widget interactions.
4. Set the System Prompt
The system prompt defines your assistant’s behavior and tone.
Prompt Tips
- Be concise—space is limited
- Reference your website context
- Provide a fallback (“check our docs”)
Example:
You are a helpful assistant embedded on [website name].
Answer questions about our product and documentation.
Keep responses short. If unsure, suggest contacting support at [URL].
Model Parameters
- Temperature (0–2):
- 0.3–0.5 for accuracy
- 0.7 default
- Max Tokens:
- 500–1000 recommended
- 2048 max
5. Set Authentication
Widgets require admin credentials for secure management.
Admin Credentials
- Username: Unique identifier (e.g. widget-support)
- Password:
- At least 8 characters
- Must include letters, numbers, and symbols
- Confirm Password: To prevent typos
These credentials are hashed and used for admin access and secure API calls.
6. Configure CORS Settings
CORS (Cross-Origin Resource Sharing) ensures only approved domains can embed the widget.
Allowed Origins
List one domain per line. Examples:
https://example.com
https://www.example.com
http://localhost:3000
Avoid wildcards (
*) in production. List exact domains to ensure security.
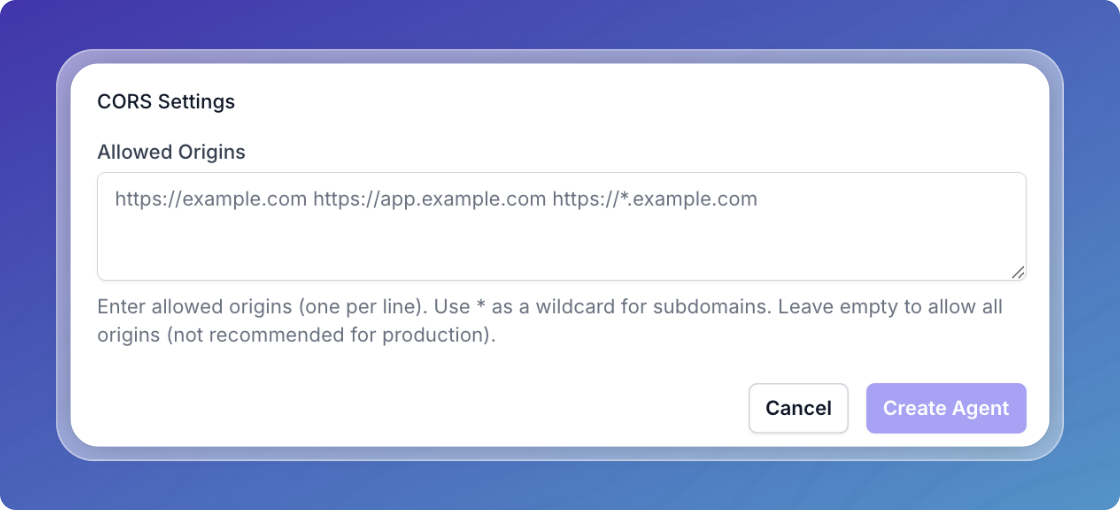
7. Create the Widget
Review your configuration and click Create Agent.
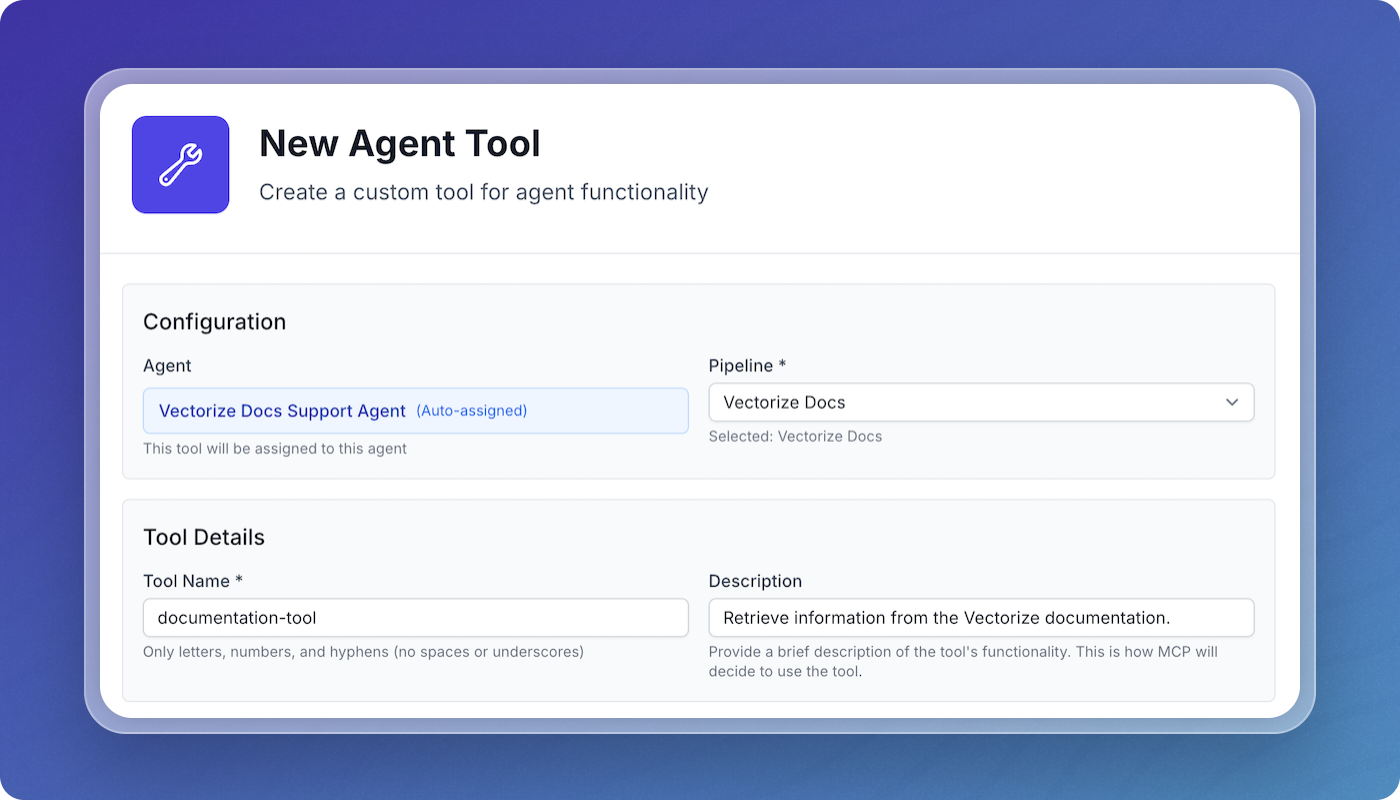
8. Connect to Your Pipeline
After creation, connect your widget to data via Agent Tools.
Option A: Create a New Tool
- Click Create New Tool
- Set:
- Tool name
- Description
- Pipeline
- Optional filters
Option B: Use Existing Tool
- Click Add Existing Tools
- Select from tools in your workspace
Your widget goes live once tools are connected.
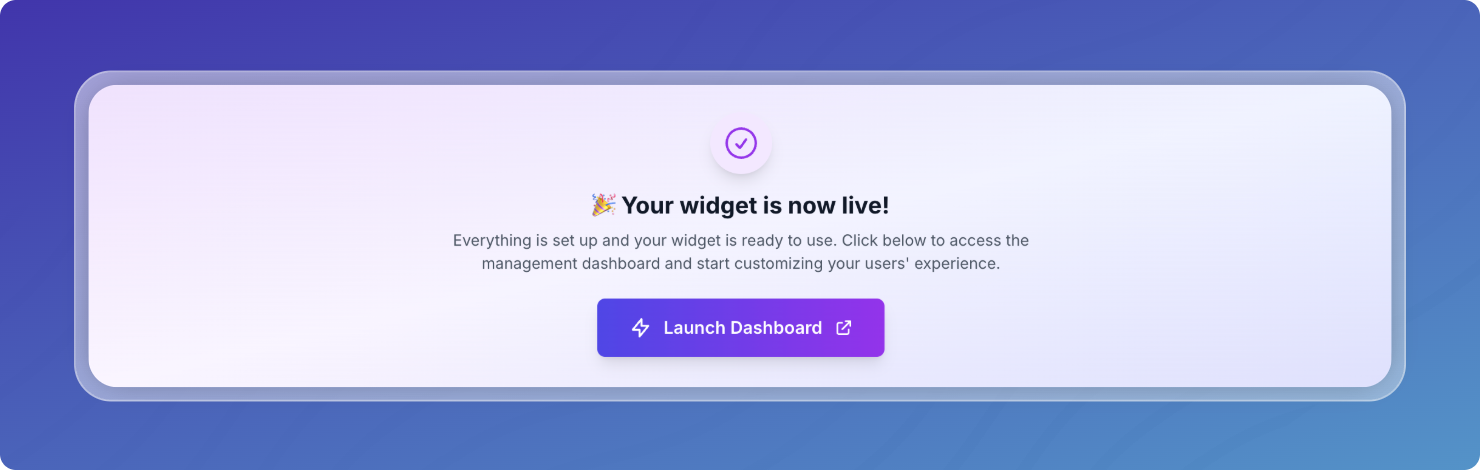
9. Embed the Widget
Get Your Embed Code
- Go to Launch Dashboard, then to the agent's Integration tab
- Copy the provided code
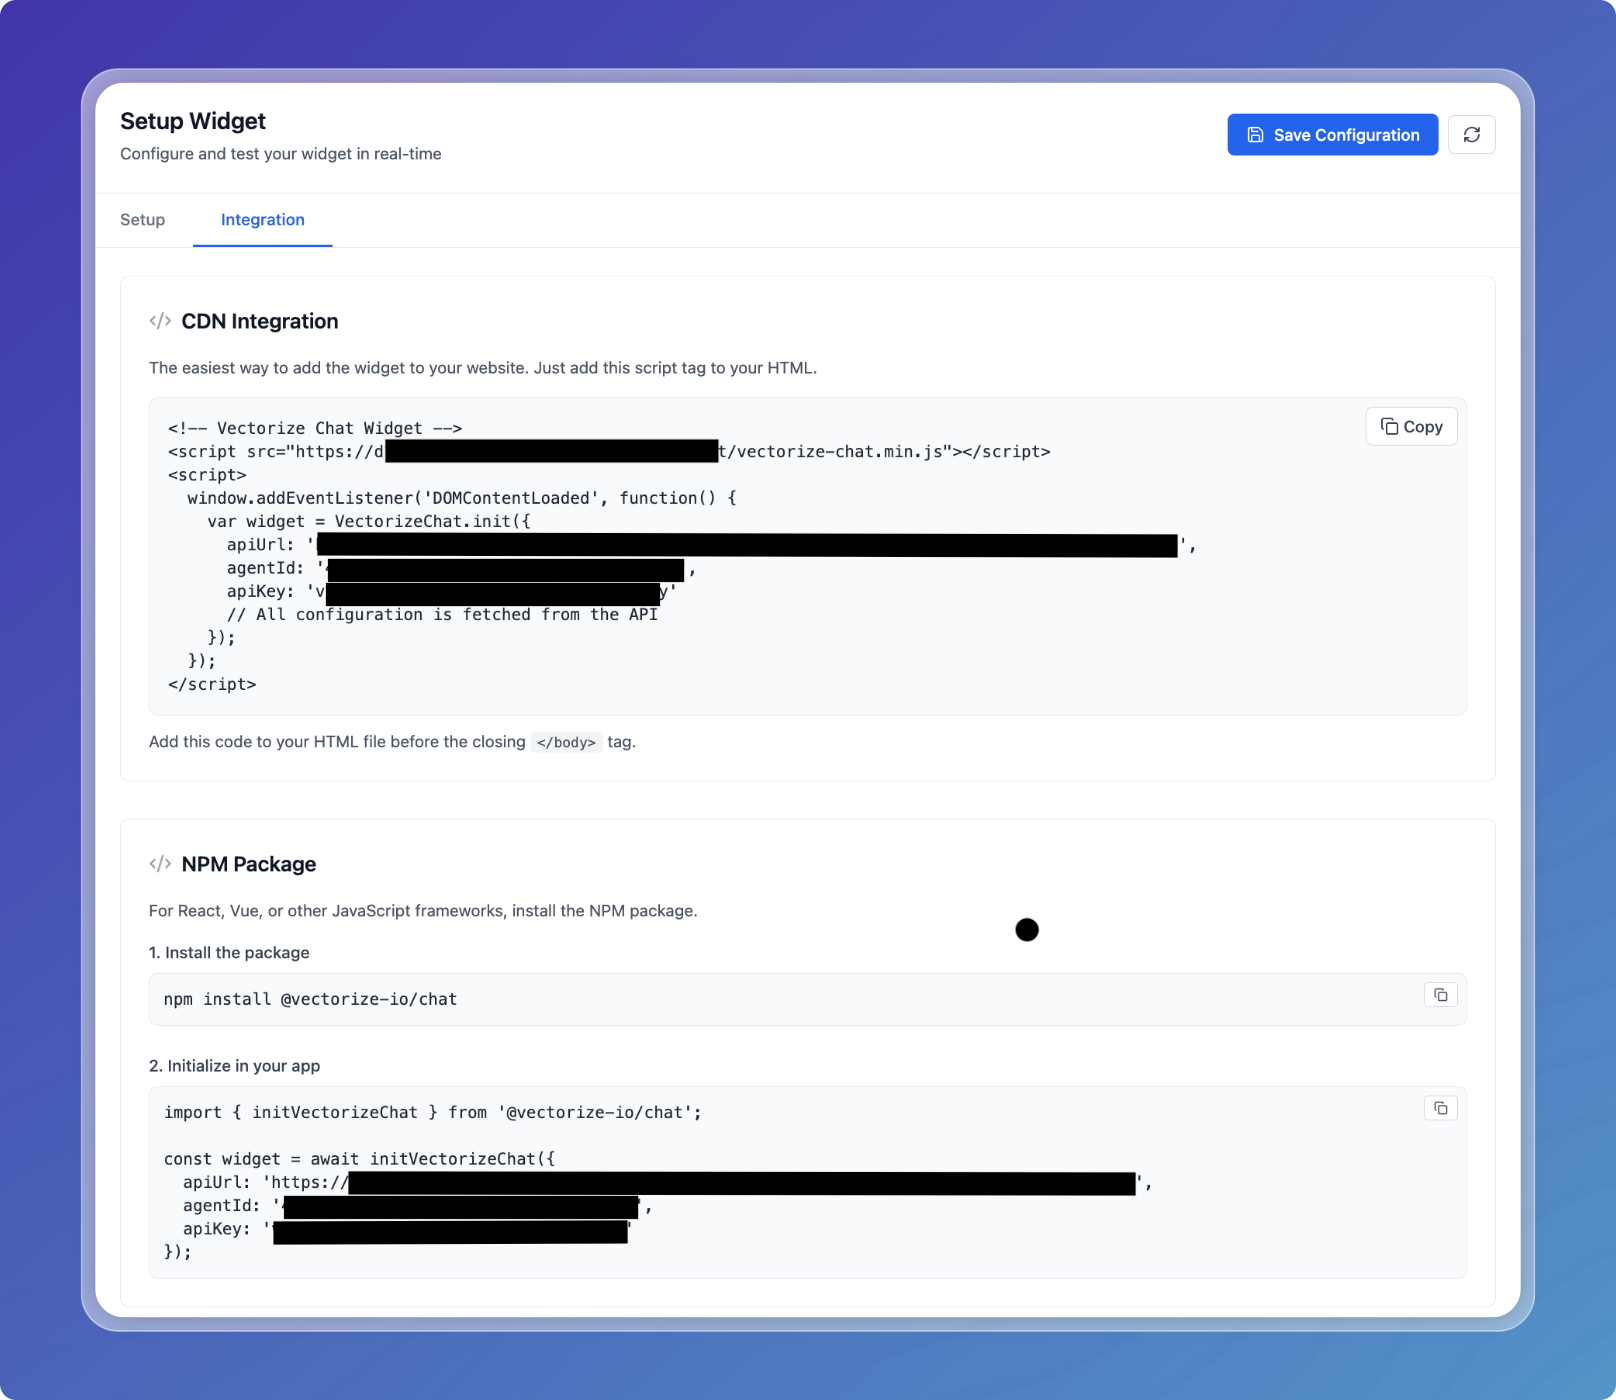
Integration Options
- JavaScript Snippet: Paste into your HTML (
</body>) - NPM Package: For React, Vue, Angular apps
- Direct API: For fully custom implementations
10. Customize the Appearance
Built-in Options
- Color scheme
- Position (bottom-left / bottom-right)
- Size and spacing
- Button text
Custom CSS
Override styles using your own CSS. Target widget classes as needed.
11. Test the Widget
Use the Admin Panel to validate setup.
Preview Mode
- Go to Setup Widget
- Click Test Widget
- Confirm model responses, tool execution, and styling
Debug Mode
Enable debug logging in the browser console for troubleshooting.
12. Monitor & Manage
Use the Admin Panel to configure:
- System prompt and model behavior
- CORS and authentication settings
- Appearance and language
- Webhooks and error logging
Advanced Options
Programmatic Control
Widgets support:
- Opening/closing via code
- Sending messages
- Listening to events
- Updating configuration dynamically
Contextual Activation
Show widgets based on:
- Page URL
- Scroll position
- Time delay
- Custom conditions
Multi-language Support
Supports 11+ languages. Set during initialization or based on user preference.
Next Steps
- Admin Panel Guide - Configure and manage your Chat Widget
- Chat Agents Overview - Learn about all Chat Agent features
- Create a Chat App - Build a full-featured AI assistant