Cursor Integration
Connect your Vectorize MCP agent to Cursor for AI-powered coding with access to your documentation and knowledge base.
Prerequisites
- Cursor installed (Download here)
- MCP agent created in Vectorize
- At least one function configured
- API key generated for your agent
Quick Setup
1. Get Your Credentials
- Open your MCP agent in Vectorize
- Go to Agent API Keys
- Click Create New Key and name it (e.g., "Cursor")
- Save your API key securely
- Note your Agent ID from the agent overview
2. Configure Cursor
- Open Cursor Settings → MCP & Integrations
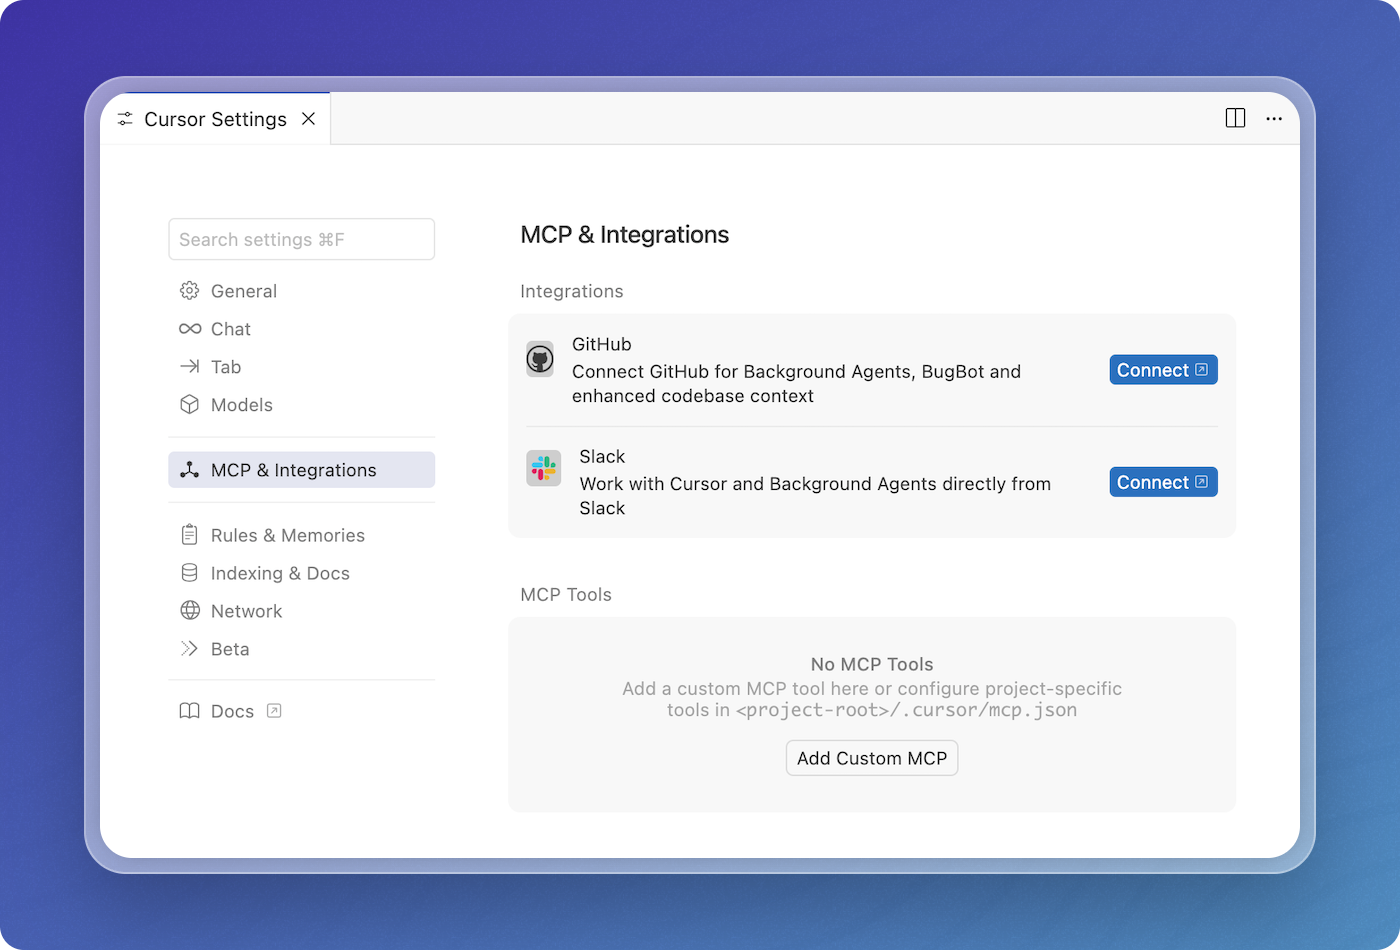
- Click Add Custom MCP, then add this configuration. Replace
YOUR_VECTORIZE_AGENT_IDandYOUR_VECTORIZE_AGENT_API_KEYwith your actual values. Save the file.
{
  "mcpServers": {
    "vectorize-mcp": {
      "url": "https://agents.vectorize.io/api/agents/YOUR_VECTORIZE_AGENT_ID/mcp",
      "headers": {
        "Authorization": "Bearer YOUR_VECTORIZE_AGENT_API_KEY"
      }
    }
  }
}
Verify Connection
After configuration:
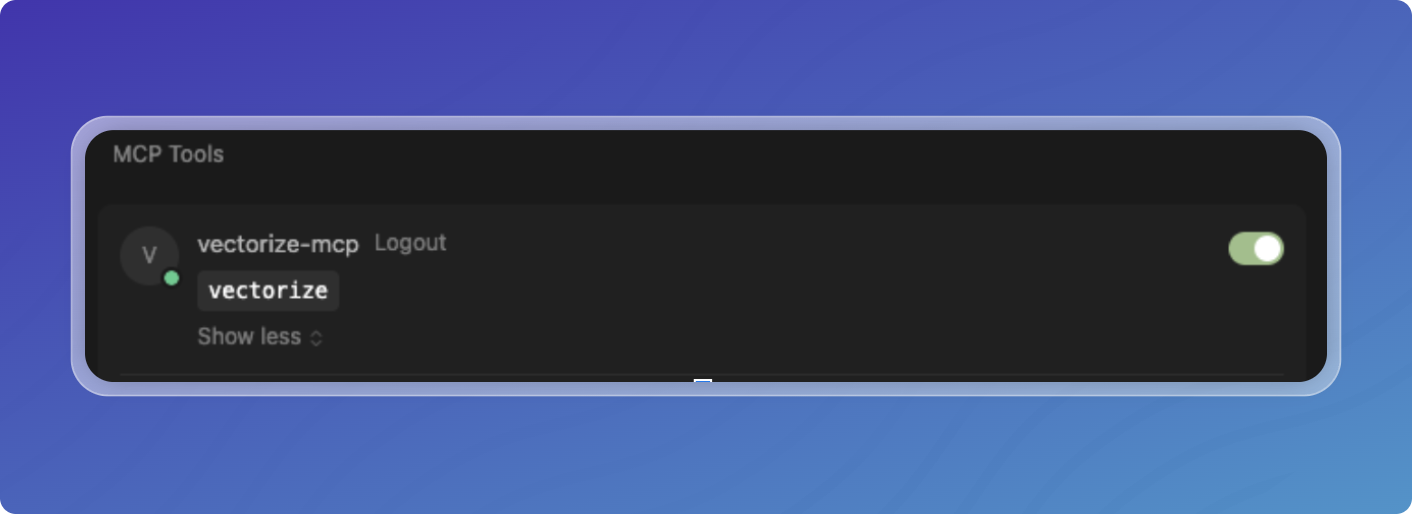
- Your agent appears in Cursor's MCP server list
- Functions are available for AI assistance
- Click function names to enable/disable them
Usage Tips
Effective Use Cases
- Code Documentation: "What does our authentication system do?"
- API Reference: "Show me examples of using our payment API"
- Best Practices: "What are our coding standards for React components?"
- Architecture: "Explain our microservices architecture"
Tips for Better Results
- Write clear function descriptions in Vectorize
- Use specific keywords from your documentation
- Test functions in Vectorize UI first
- Keep pipelines updated with latest docs
Troubleshooting
Agent Not Appearing
- Verify configuration format is correct
- Check API key and Agent ID
- Restart Cursor after configuration
No Results
- Ensure pipeline has indexed documents
- Check function filters aren't too restrictive
- Test queries in Vectorize UI
Authentication Errors
- Validate API key hasn't expired
- Confirm correct Agent ID
- Check network connectivity