Connecting Vectorize MCP Server to Groq Desktop
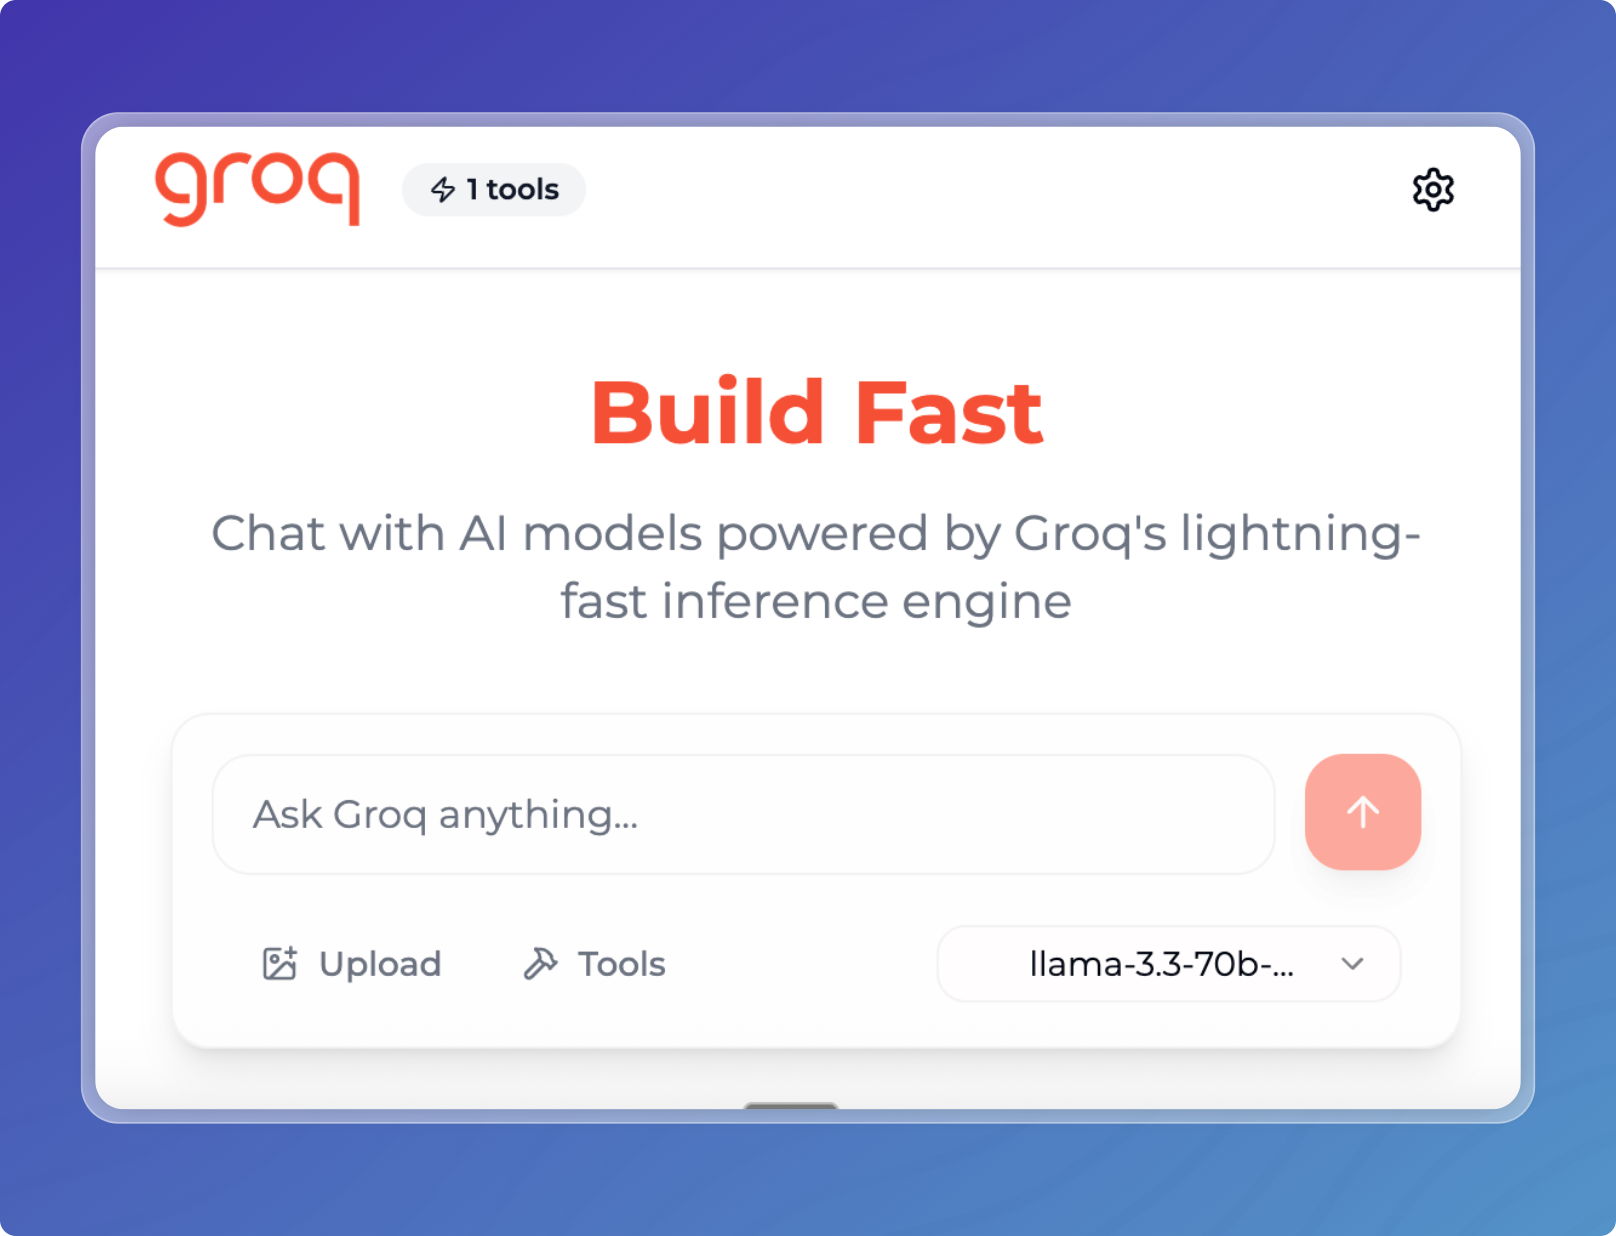
This guide shows you how to connect your Vectorize MCP agent to Groq Desktop, an open-source desktop application that provides a native interface for Groq's AI models with MCP support.
Prerequisites
- Git installed on your computer
- Node.js installed (for MCP server functionality)
- A Vectorize MCP agent already created with at least one tool configured
- An API key for your Vectorize agent
- A Groq API key (Get one here)
Setup Instructions
Step 1: Get Your Agent Credentials
From your Vectorize agent:
- Navigate to your agent's Agent API Keys section
- If you don't have an API key yet:
- Click Create New Key
- Give it a descriptive name (e.g., "Groq Desktop Key")
- Click Create Key
- Note down:
- Your Agent ID from the agent overview page
- Your API Key - save this securely as you won't be able to see it again!
Step 2: Download and Install Groq Desktop
-
Clone the Groq Desktop repository:
git clone https://github.com/groq/groq-desktop-beta.git
cd groq-desktop-beta -
Install dependencies:
npm install -
Start the application:
npm start -
On first launch, the application will create the necessary configuration files
Step 3: Locate the Configuration File
The settings file is located at:
- macOS:
~/Library/Application Support/groq-desktop-app/settings.json - Windows:
%APPDATA%/groq-desktop-app/settings.json - Linux:
~/.config/groq-desktop-app/settings.json
Step 4: Configure MCP Server
- Close Groq Desktop if it's running
- Open the
settings.jsonfile in your preferred text editor - Add your Vectorize MCP server configuration to the existing JSON structure:
{
  "GROQ_API_KEY": "your_groq_api_key_here",
  "model": "llama-3.3-70b-versatile",
  "temperature": 0.7,
  "top_p": 0.95,
  "reasoning_effort": "medium",
  "mcpServers": {
    "vectorize-mcp": {
      "command": "npx",
      "args": [
        "-y",
        "mcp-remote@latest",
        "https://agents.vectorize.io/api/agents/YOUR_AGENT_ID/mcp",
        "--header",
        "Authorization: Bearer ${VECTORIZE_API_KEY}"
      ],
      "env": {
        "VECTORIZE_API_KEY": "YOUR_API_KEY"
      },
      "transport": "stdio"
    }
  },
  "disabledMcpServers": [],
  "customSystemPrompt": "",
  "popupEnabled": true,
  "customCompletionUrl": "",
  "toolOutputLimit": 8000,
  "customApiBaseUrl": "",
  "customModels": {},
  "builtInTools": {
    "codeInterpreter": false,
    "browserSearch": false
  }
}
-
Replace the placeholders:
YOUR_AGENT_IDwith your actual Agent IDYOUR_API_KEYwith your actual Vectorize API keyyour_groq_api_key_herewith your actual Groq API key- Adjust other parameters like
model,temperature, etc. as needed
-
Save the file
Step 5: Start Groq Desktop
-
Launch Groq Desktop:
npm start -
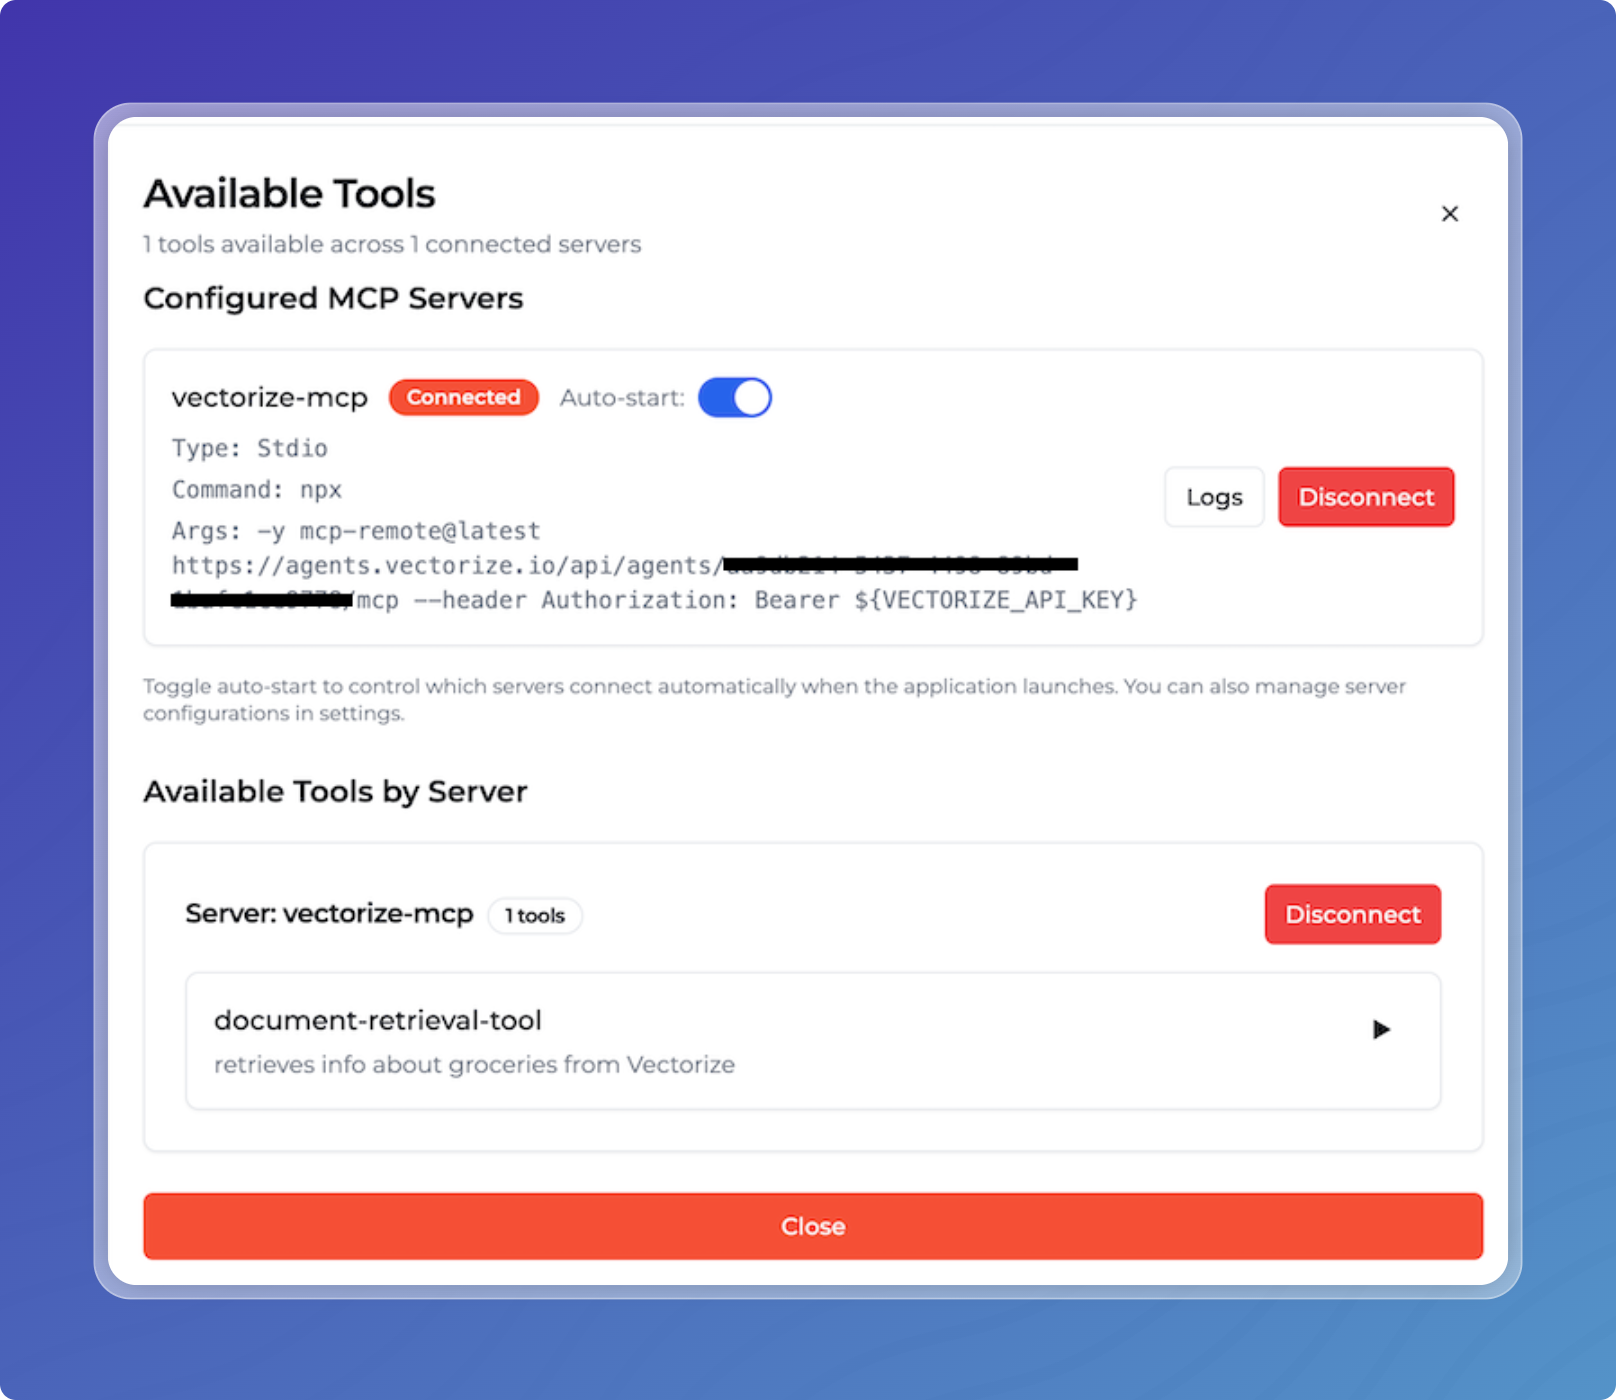
The application will load your MCP server configuration automatically

- You can view and manage your MCP server connections in the Tools section of Groq Desktop

Step 6: Test Your Setup
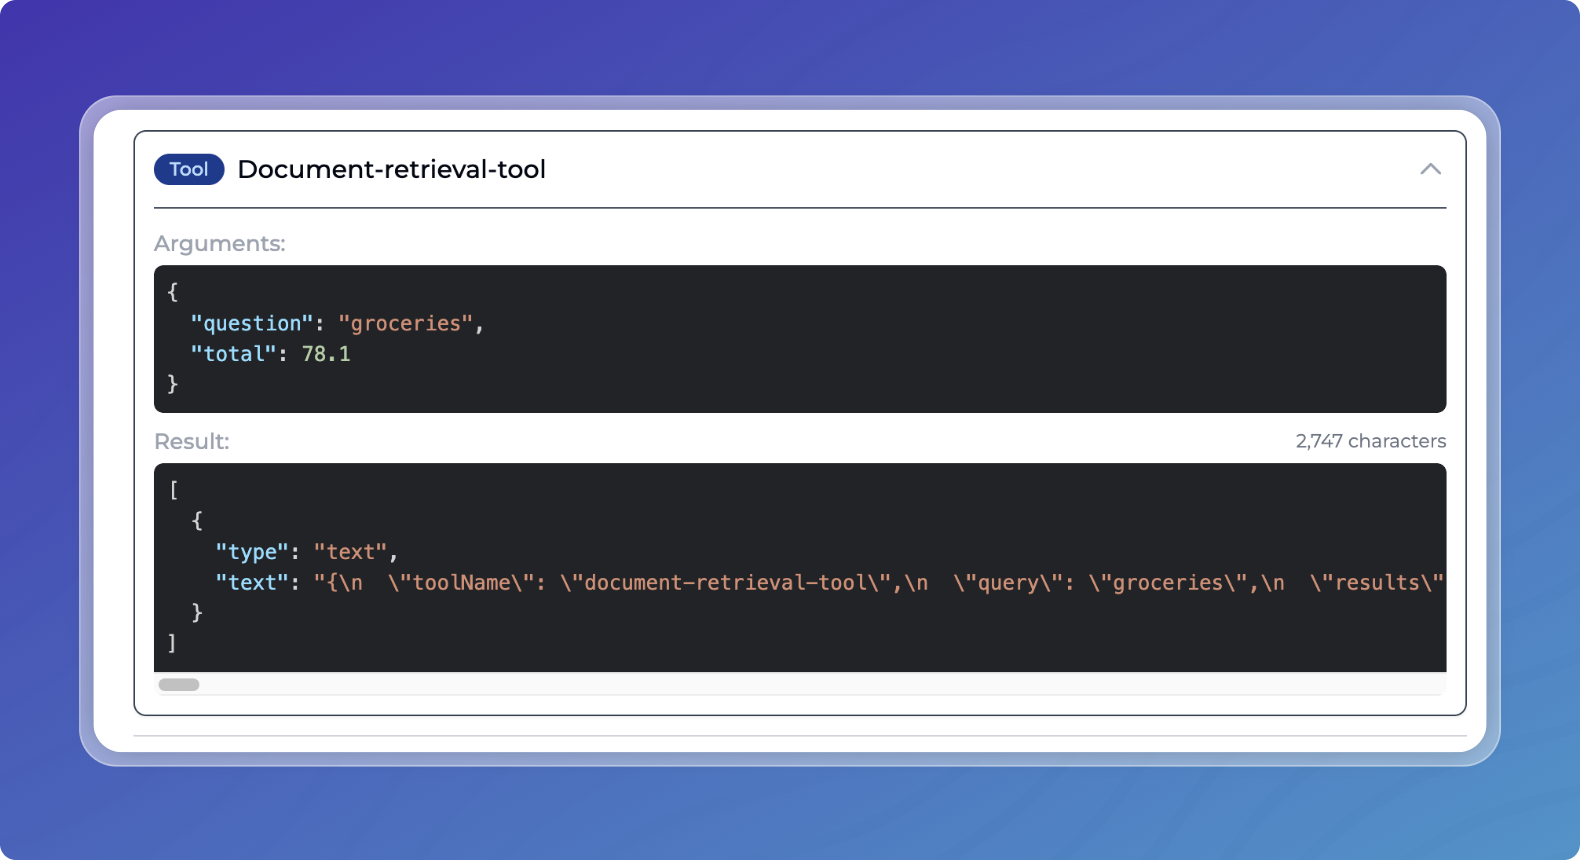
Try out the MCP server by chatting with the Groq model. If your chat messages need to use the MCP server, Groq Desktop will automatically route them through your Vectorize MCP agent.
