Connecting Vectorize MCP Server to Warp AI
This guide shows you how to connect your Vectorize MCP agent to Warp AI, enabling Claude to access your agent's capabilities directly from your terminal through Warp's AI assistant.
Prerequisites
- Warp terminal installed on your computer (Download Warp)
- A Vectorize MCP agent already created with at least one tool configured
- An API key for your Vectorize agent
Setup Instructions
Step 1: Get Your Agent Credentials
From your Vectorize agent:
- Navigate to your agent's Agent API Keys section
- If you don't have an API key yet:
- Click Create New Key
- Give it a descriptive name (e.g., "Warp AI Key")
- Click Create Key
- Note down:
- Your Agent ID from the agent overview page
- Your API Key - save this securely as you won't be able to see it again!
Step 2: Access MCP Server Settings in Warp
- Open Warp terminal
- Access the MCP Servers configuration through Warp's settings

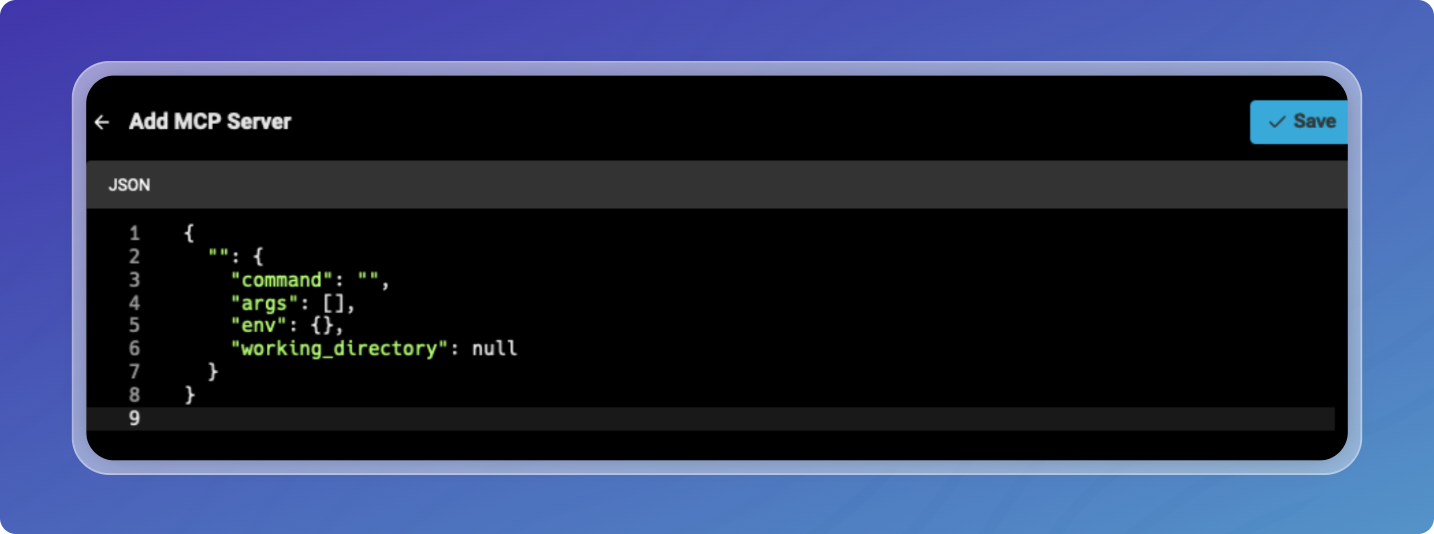
- Navigate to the Add MCP Server section

Step 3: Configure the MCP Server
In the MCP server configuration interface, you'll need to replace the placeholders with your actual values:
Vectorize MCP Configuration
{
  "mcpServers": {
    "vectorize-mcp": {
      "command": "npx",
      "args": [
        "-y",
        "mcp-remote@latest",
        "https://agents.vectorize.io/api/agents/YOUR_AGENT_ID/mcp",
        "--header",
        "Authorization: Bearer ${VECTORIZE_API_KEY}"
      ],
      "env": {
        "VECTORIZE_API_KEY": "YOUR_API_KEY"
      }
    }
  }
}
Using the tools
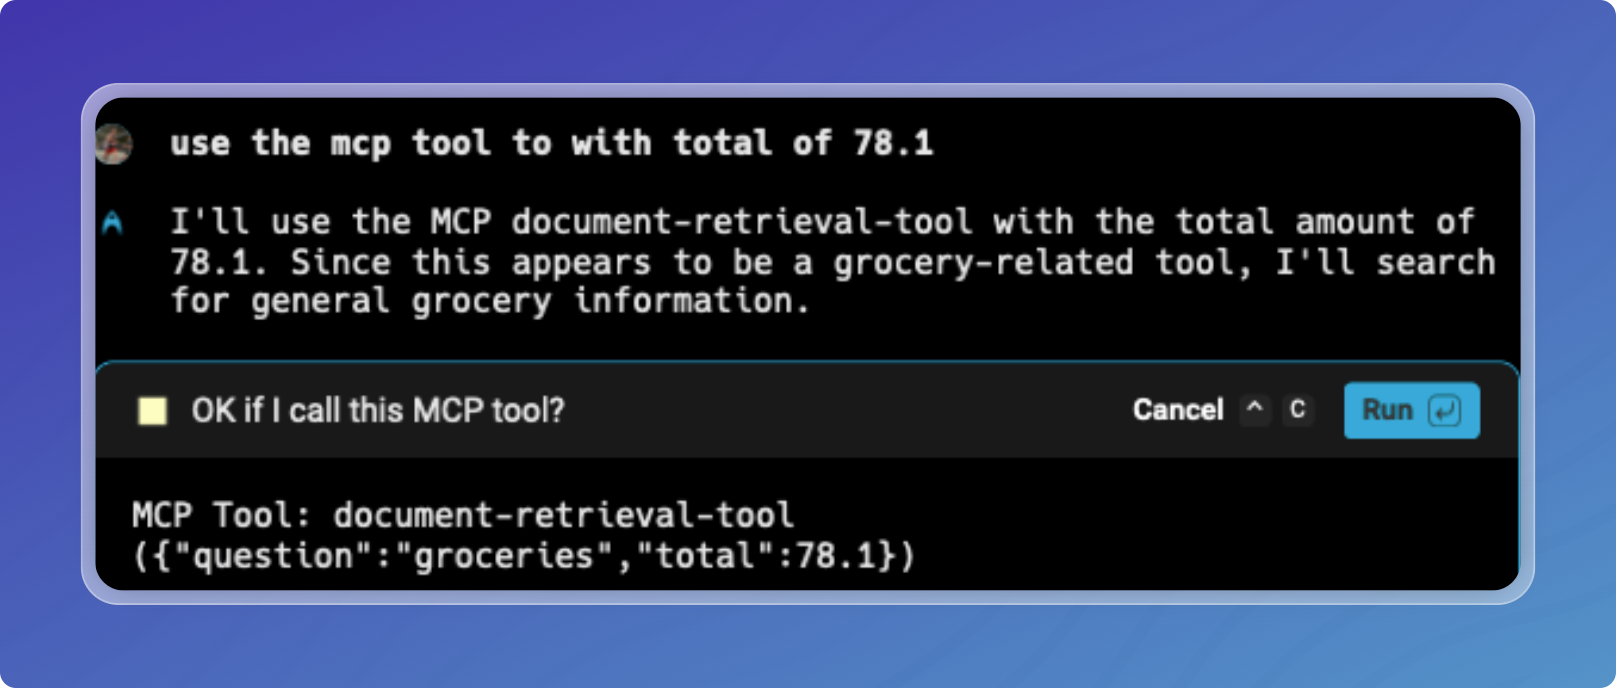
Here's how it will look when a tool is used in Warp:
